Thanks. You're on the list. The guide is below and stays here whenever you need it.
The method

Lock it.
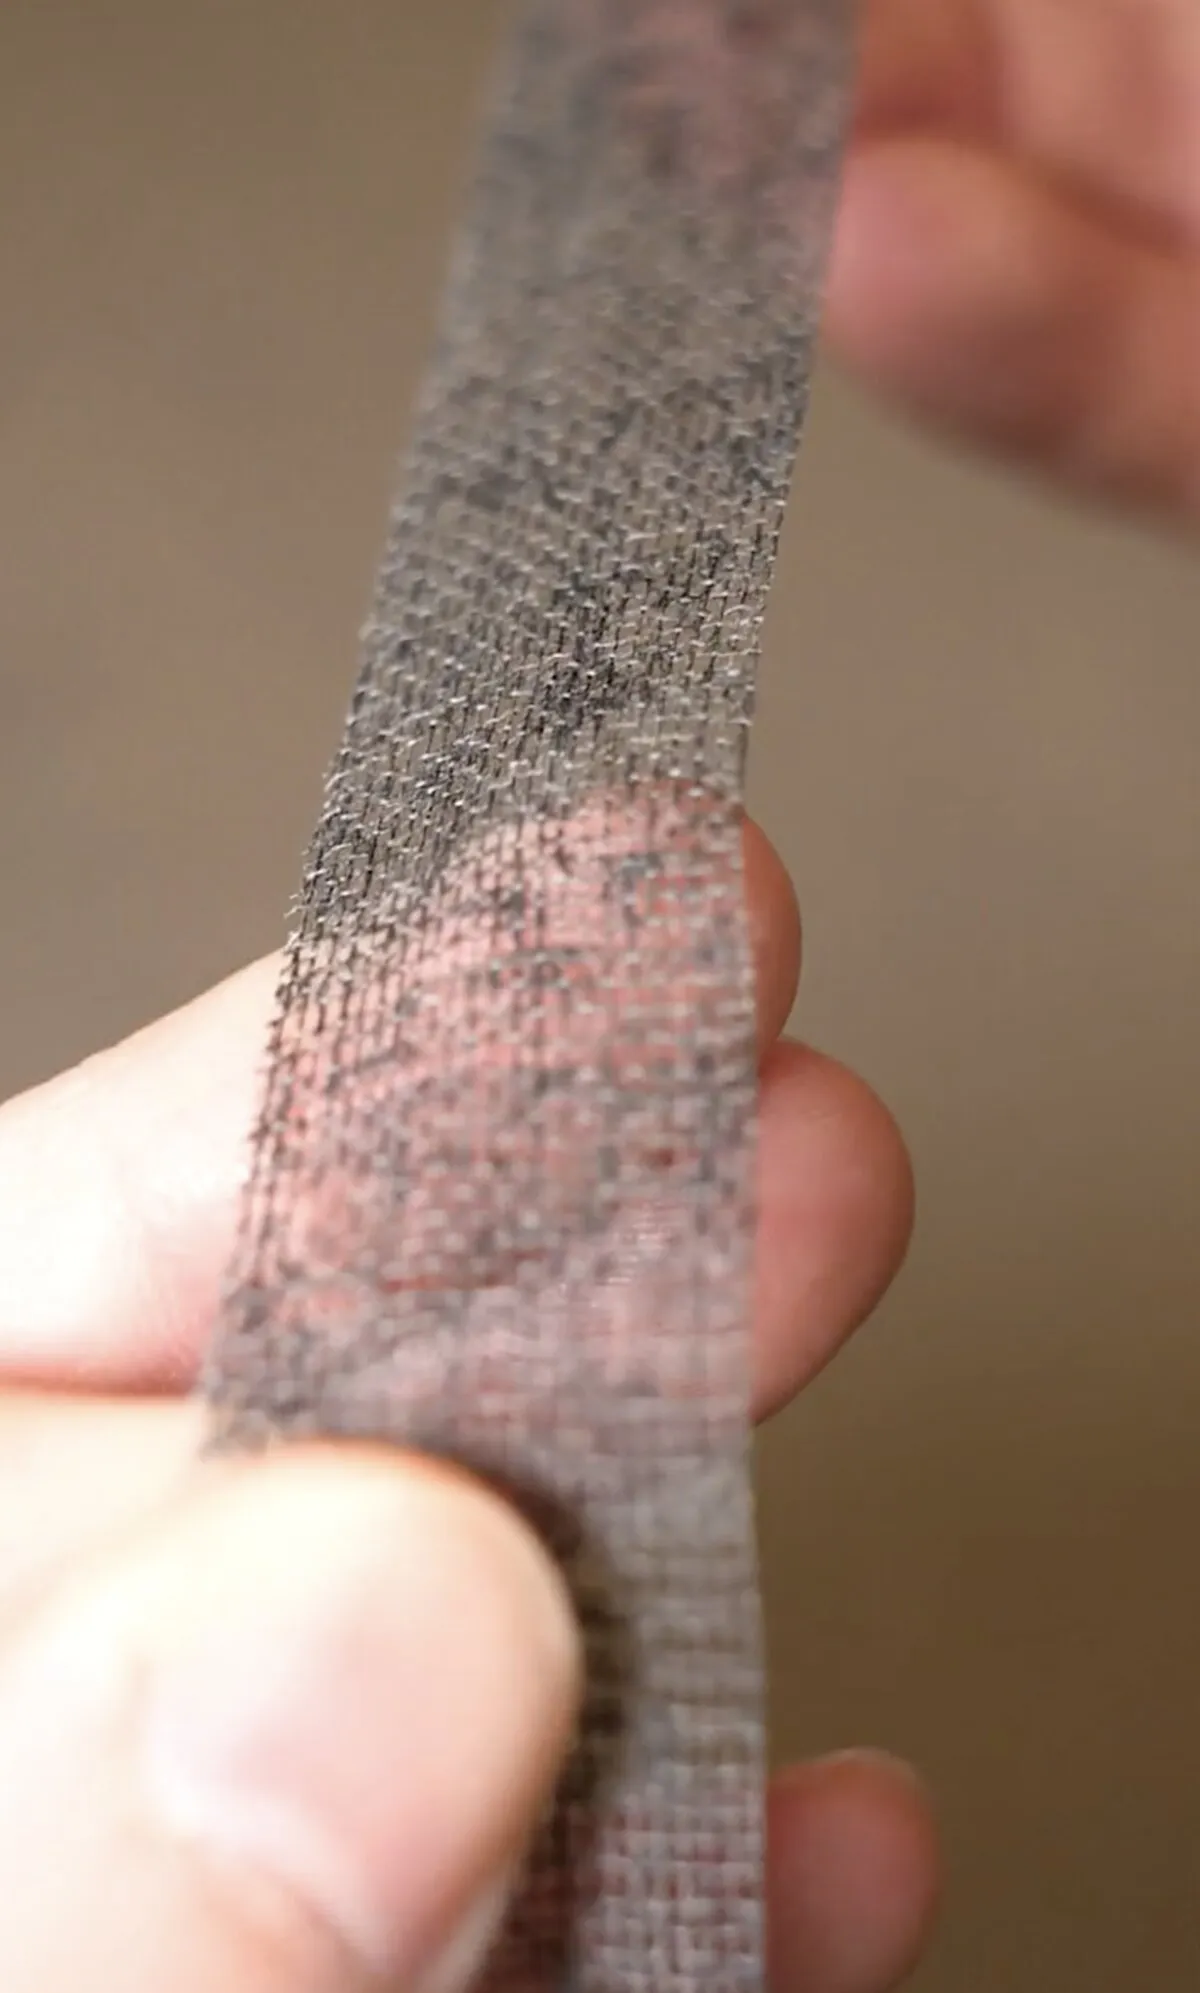
Make a loop and press the ends together. The tape bonds to itself and to nothing else.

Wrap it.
Wrap comfortably around fingers, toes, wrists, or ankles. Two layers is the working thickness; three for heavy contact.

Don't lose the edge.
Before you put the roll down, fold the tape end back over the roll so it stands off the surface. Guard-Tex bonds to itself, so a flat end disappears into the roll and is hard to find. This is the one thing every new user learns the hard way, so learn it here instead.
01 · Fingertips
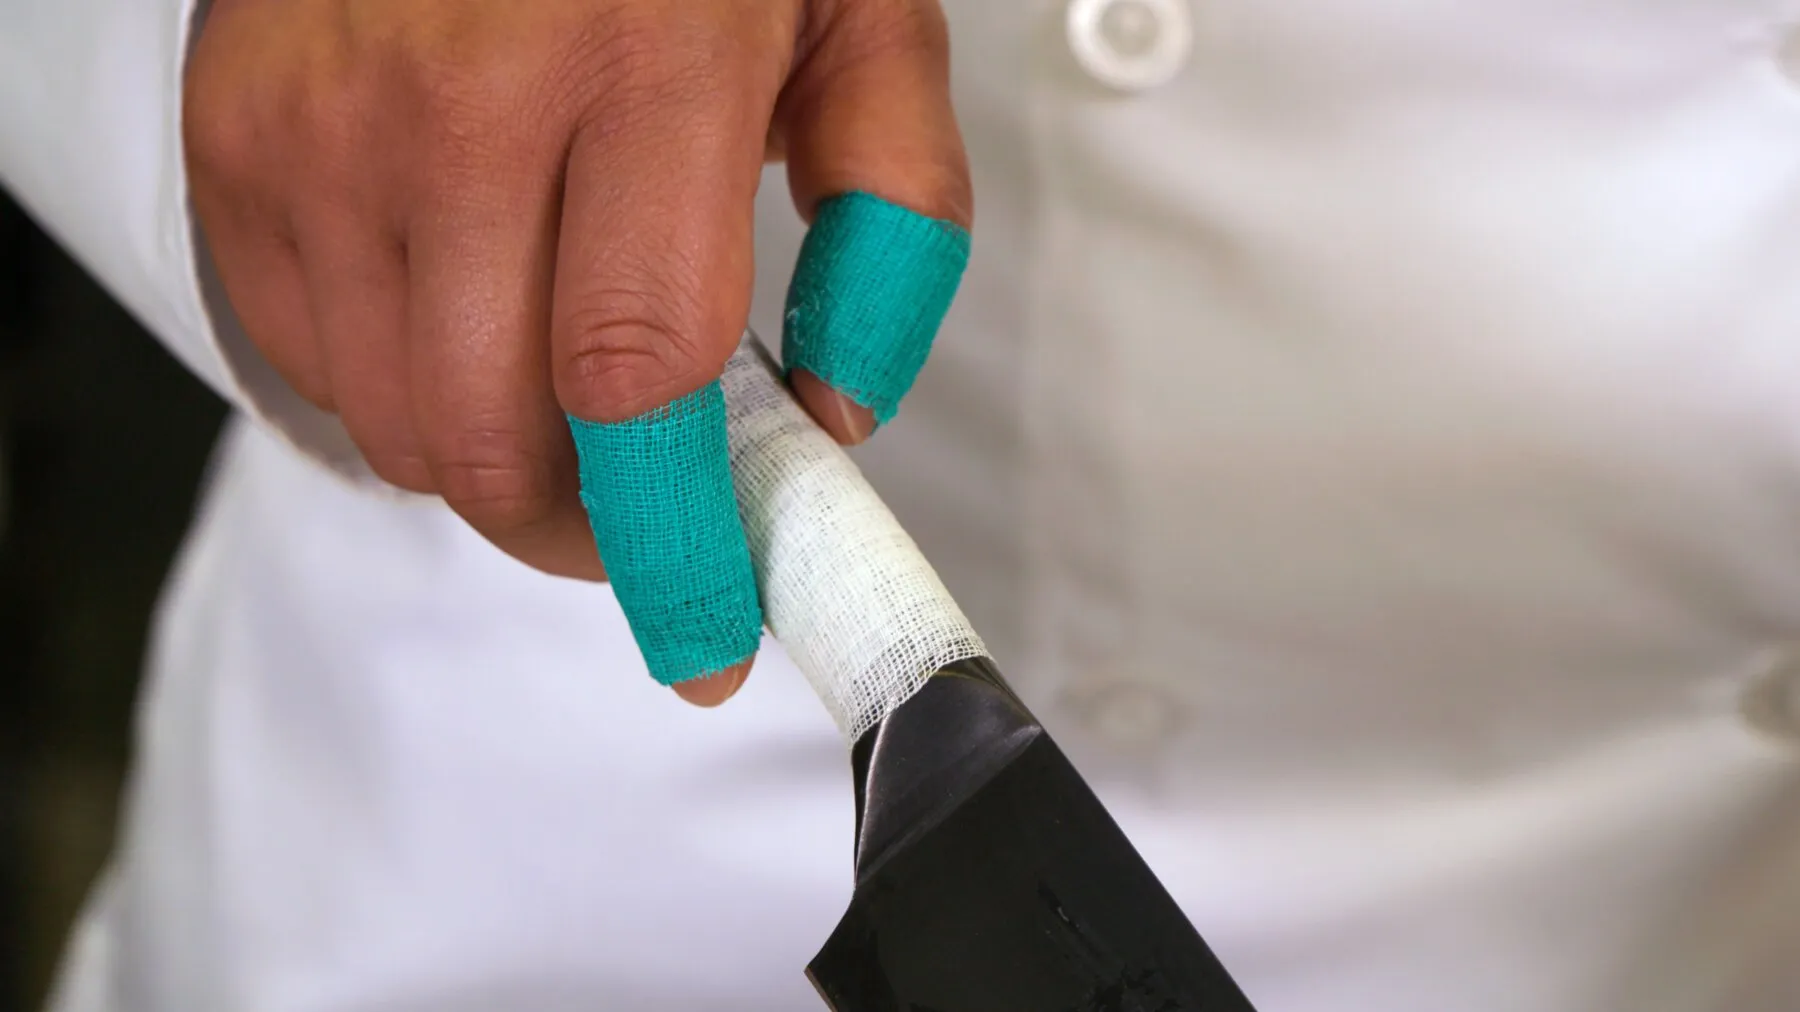
Lock it on the pad, wrap twice. Keep the feel, lose the cuts.
- Lock it: make a loop around the pad of the finger and press the ends together.
- Wrap it: two more turns, each covering half of the last, over the spot the blade or edge actually hits.
- Tear by hand and press. Then fold the end back over the roll so you can find it next time.
Two layers is the working thickness. Three for heavy contact, like deburring or box knives all shift.
02 · Thumbs and grip
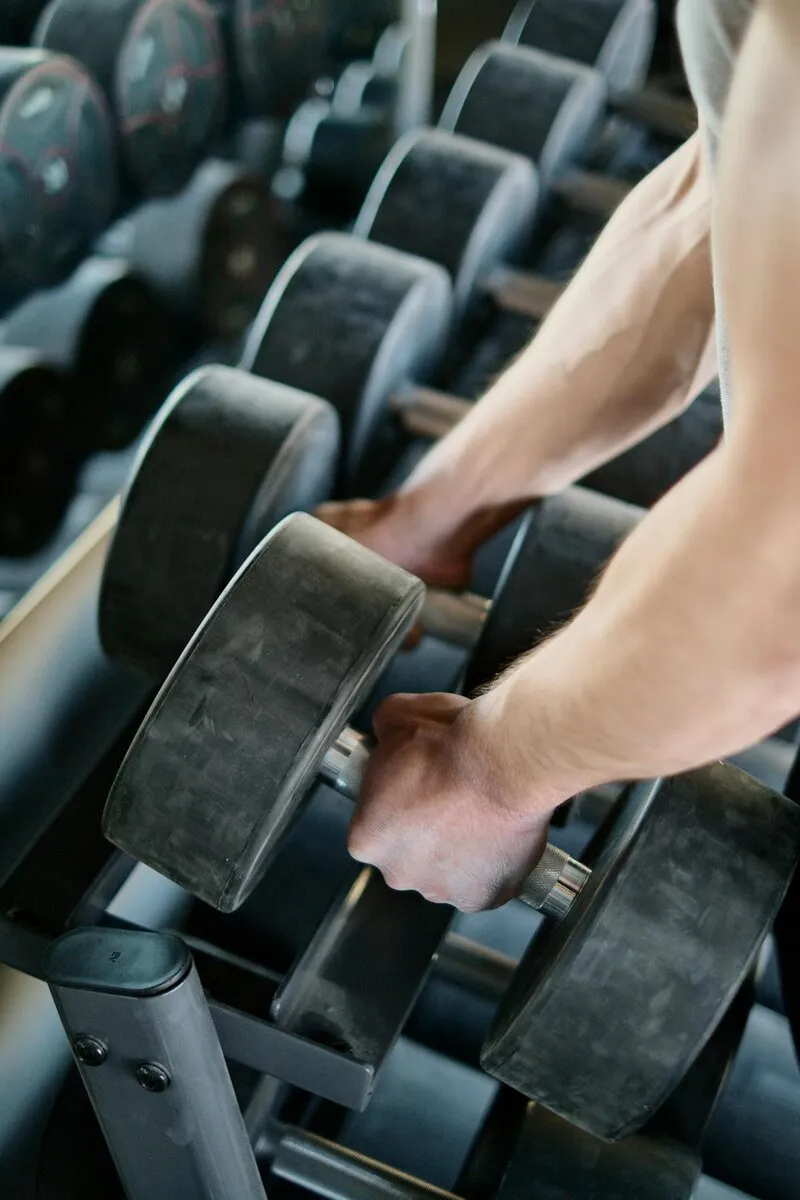
For hook grip, calluses, and bar work.
- Lock it: a loop at the base of the thumb, ends pressed together.
- Wrap it: spiral up to just under the knuckle, half-overlap, firm but not tight.
- Tear and press. It holds through chalk and sweat and unwraps without opening the skin.
Wrap before the hot spot becomes a tear, not after.
03 · Palms and hands
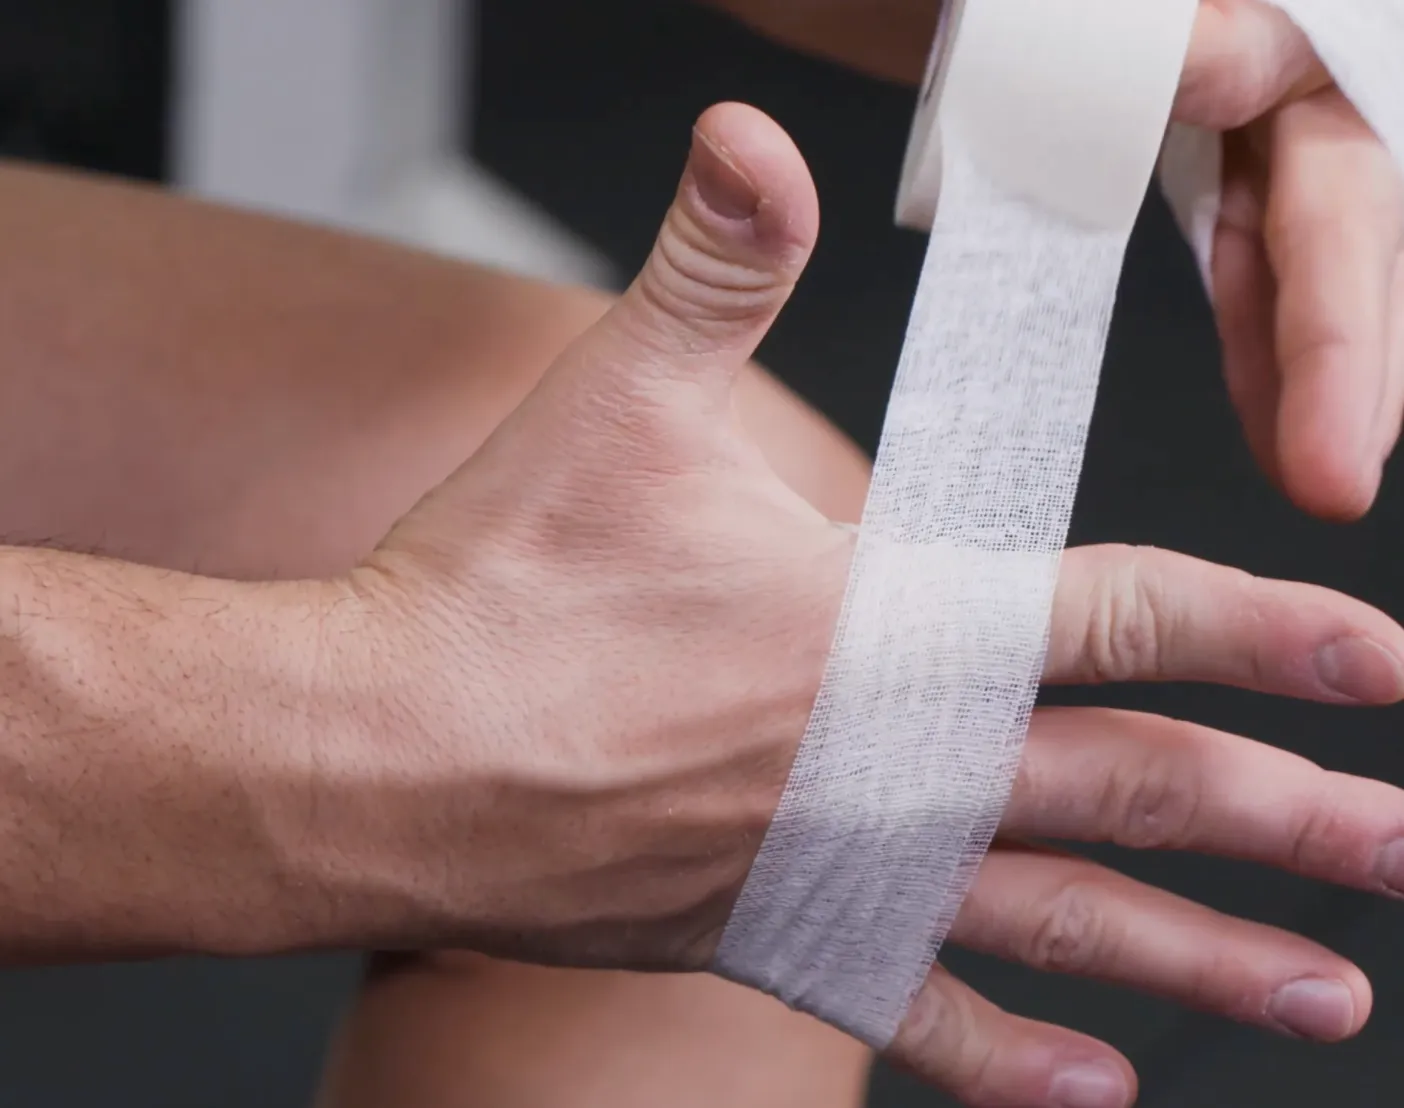
One strip across the palm, anchored around the back of the hand.
- Lock it: one turn around the hand, over the palm where the friction is, ends pressed together.
- Wrap it: a second pass for cushion, half-overlap.
- Tear and press. Leave the finger joints free.
Leave the finger joints free. The tape is for the surface, not the movement.
04 · Tool handles
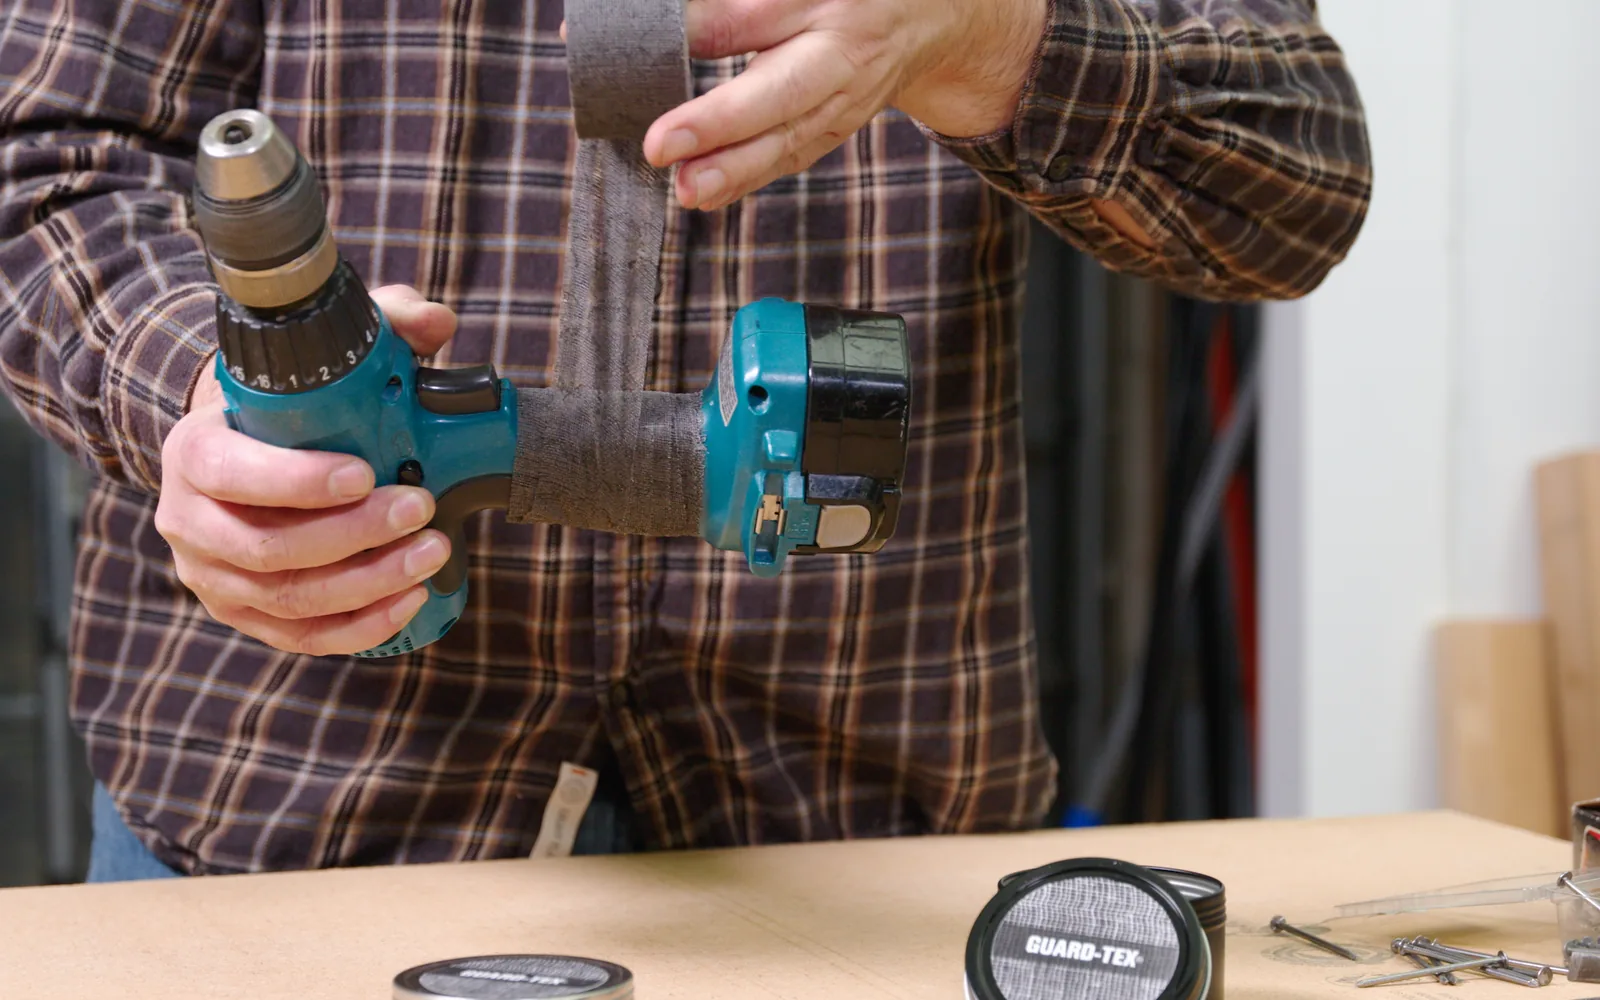
Wrap the tool instead of the hand.
- Lock it: one turn at the end of the handle, ends pressed together.
- Wrap it: spiral toward the head, half-overlap, pulling firm so the layers bond.
- Finish with one flat turn and press. No adhesive touches the handle, so it comes off clean.
Works on drills, bats, oars, rackets, and anything you grip for an hour.
05 · Buddy tape
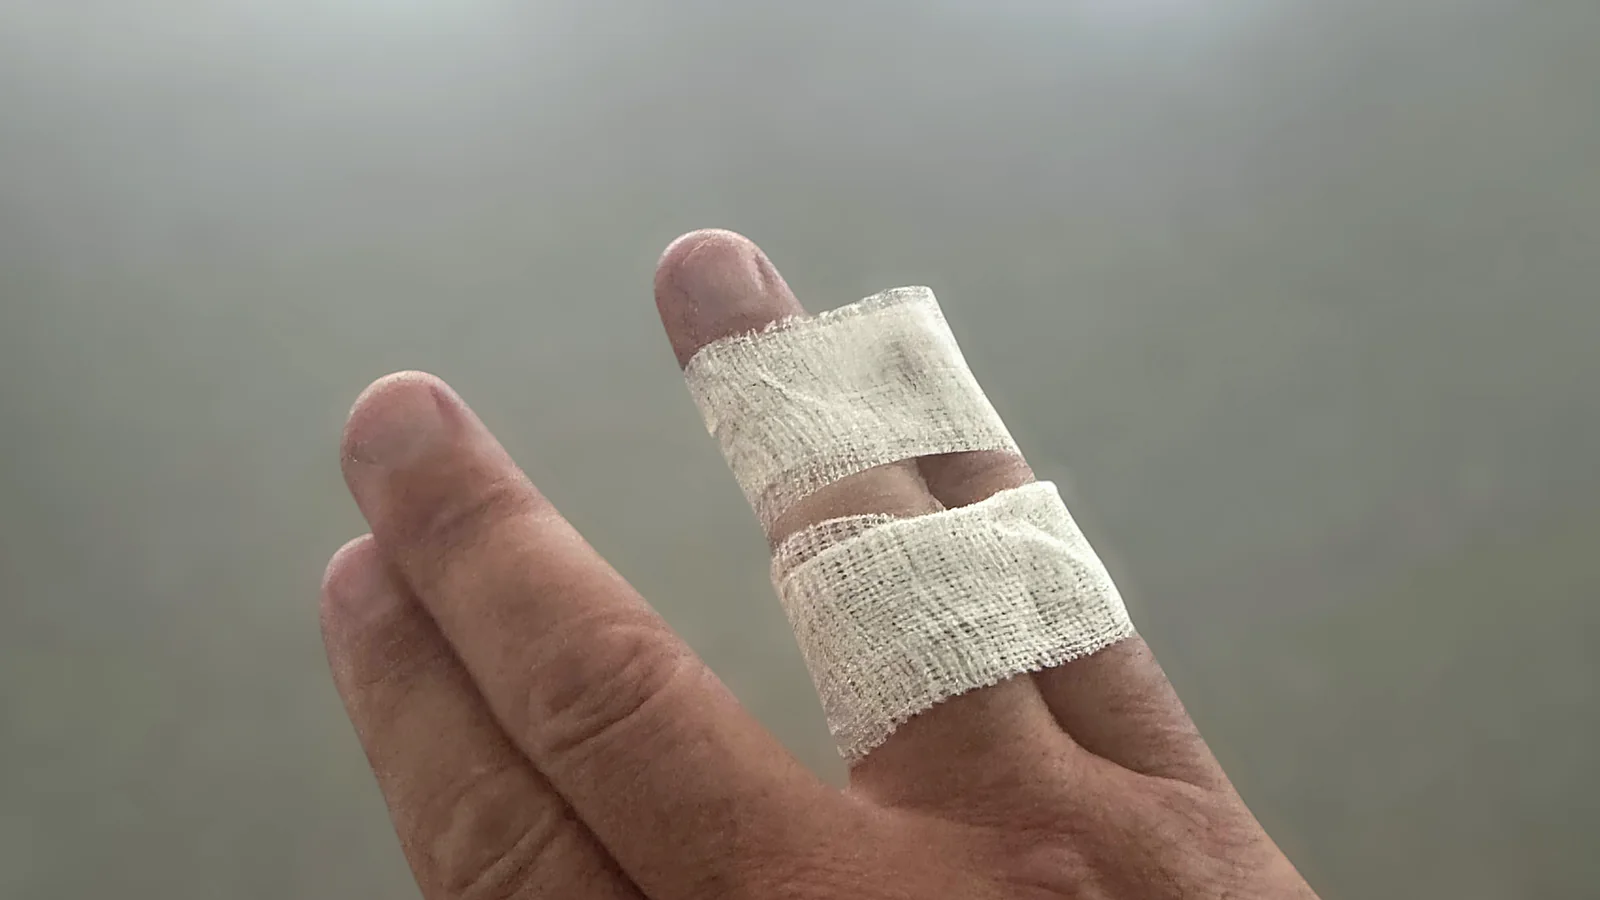
A sore finger, taped to the one beside it.
- Put a small pad of gauze or cotton between the two fingers so skin does not rub skin.
- Lock it: a loop around both fingers above the joint, ends pressed together. Repeat below the joint.
- Wrap it: one more turn on each. Leave the joint free enough to bend a little. Tear and press.
Because nothing sticks to skin, you can unwrap to check and wrap right back with the same piece.
06 · Tails and legs
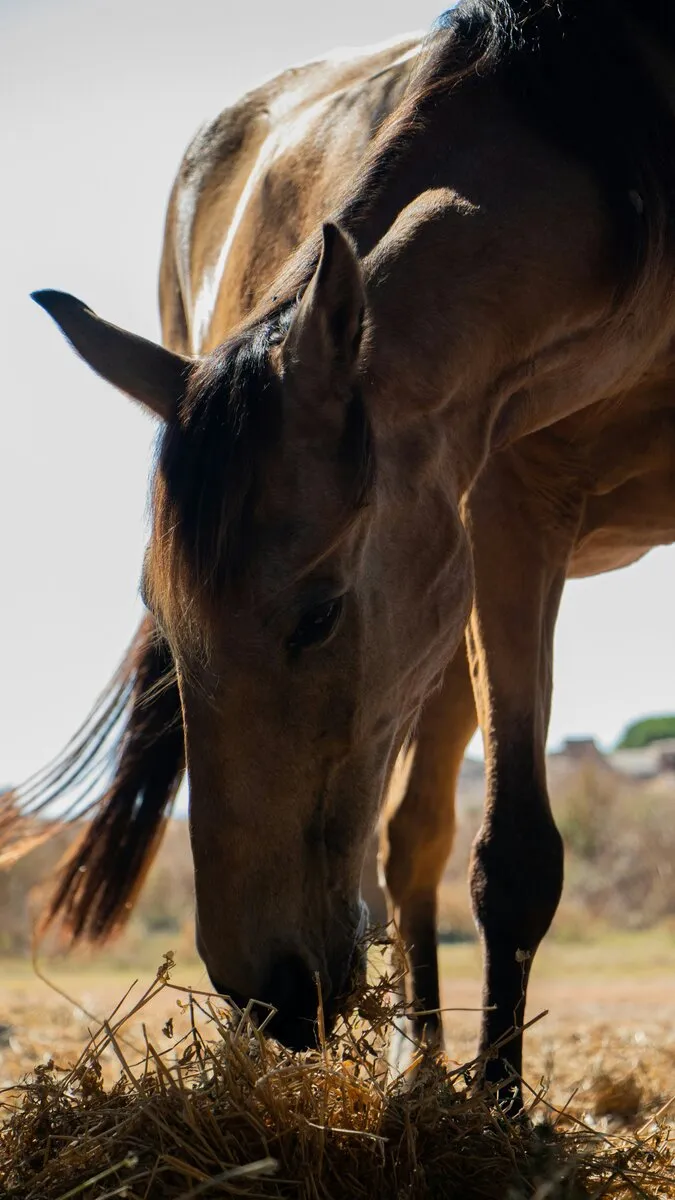
The 3-inch, for barns.
- For a tail: lock one turn below the dock, then spiral down over the braid or bag, half-overlap, firm.
- For a leg: lock one turn over padding just below the knee or hock, then wrap downward, half-overlap, even tension. Non-elastic means it will not tighten as it sets.
- Tear and press the end into the wrap. Pull the tape over the roll so you can find the edge next time. Waterproof; unwrap by hand when you are done.
Guard-Tex does not stretch, so it cannot constrict a leg the way an elastic wrap can. Check any leg wrap daily as you would with anything.
Care
Don't lose the edge. Keep the tin.
- When you finish, fold the tape end back over the roll so it stands off the surface. A flat end disappears into the roll.
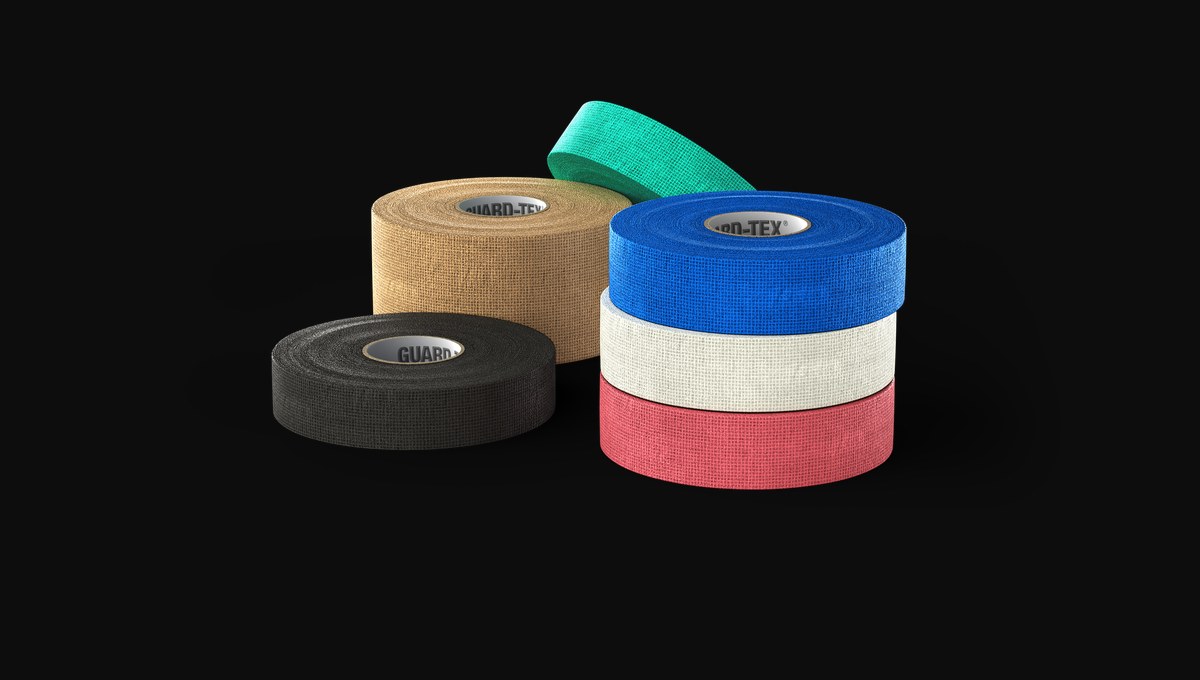
- The tin is yours for good. Refill it with Guard-Tex 3-roll and 6-packs, in any color.
- Store the roll in its tin, out of direct sunlight, in a cool dry place. Made with natural latex.