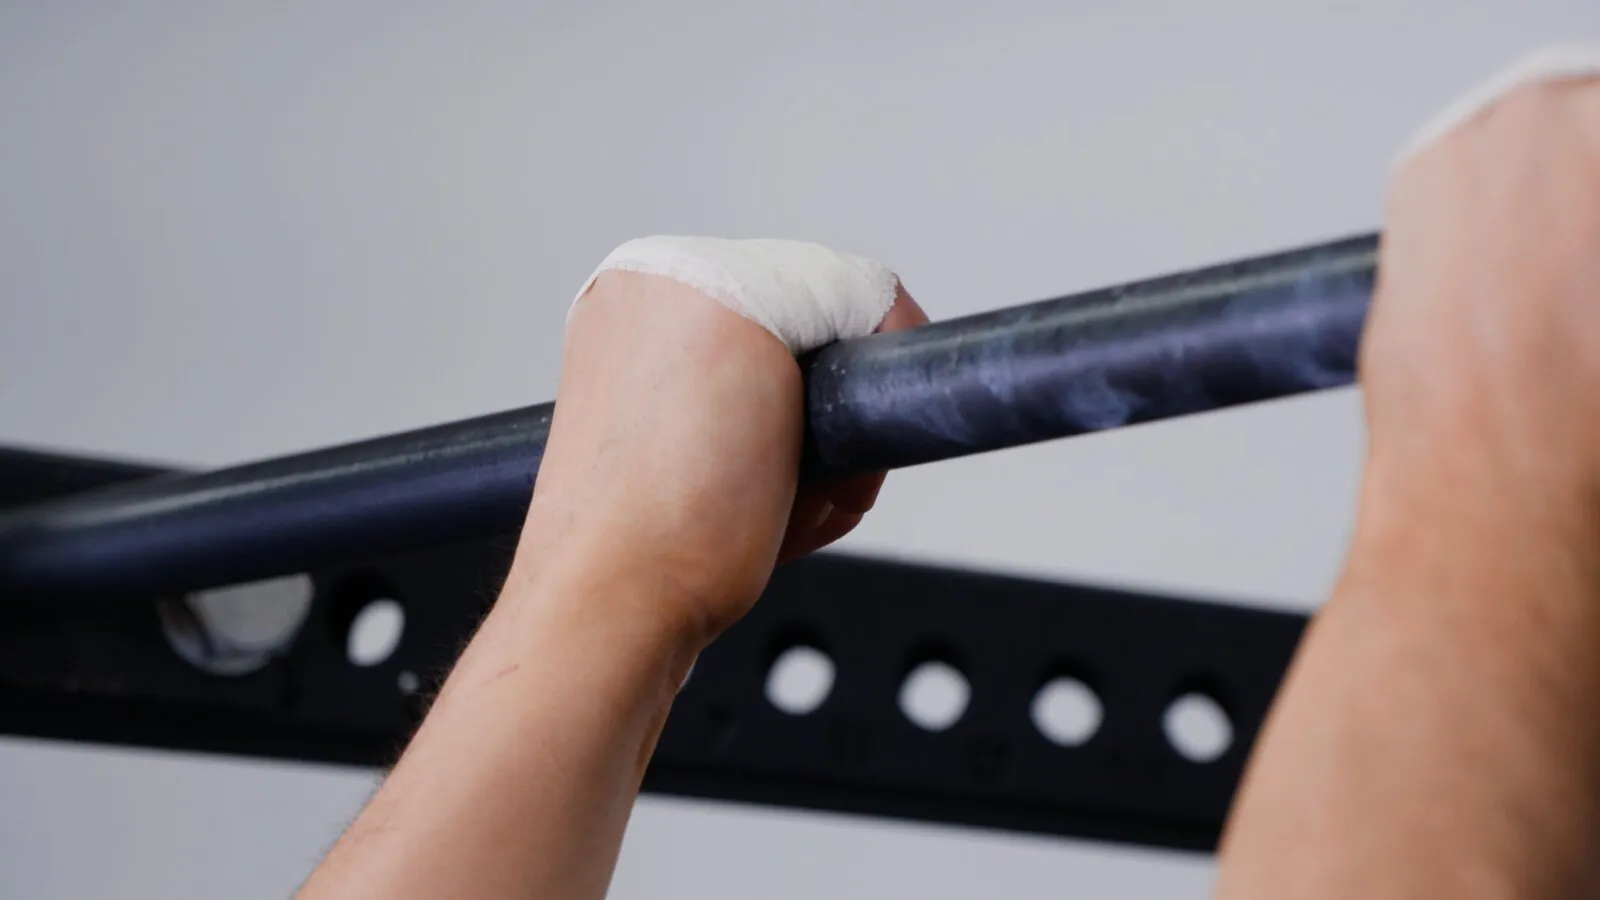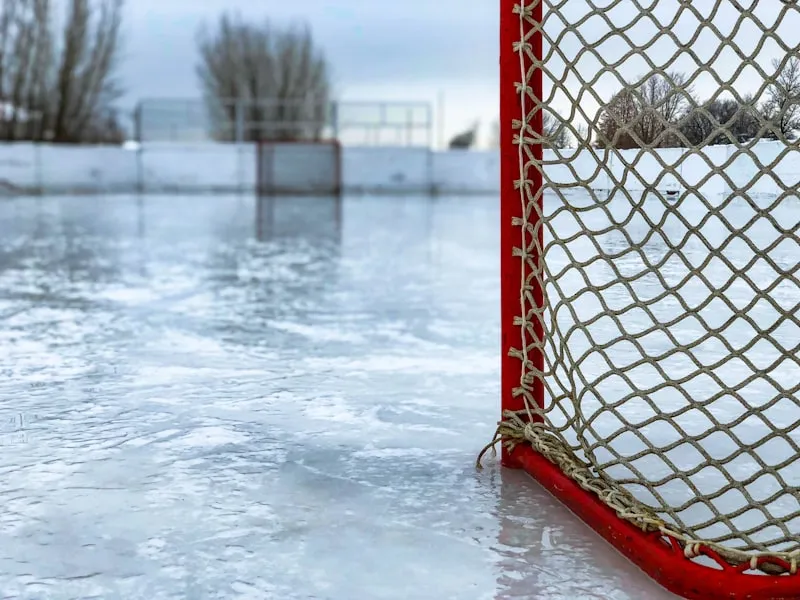
CrossFit
Prevent tears during high-rep pull-ups, toes-to-bar, and barbell work.
Explore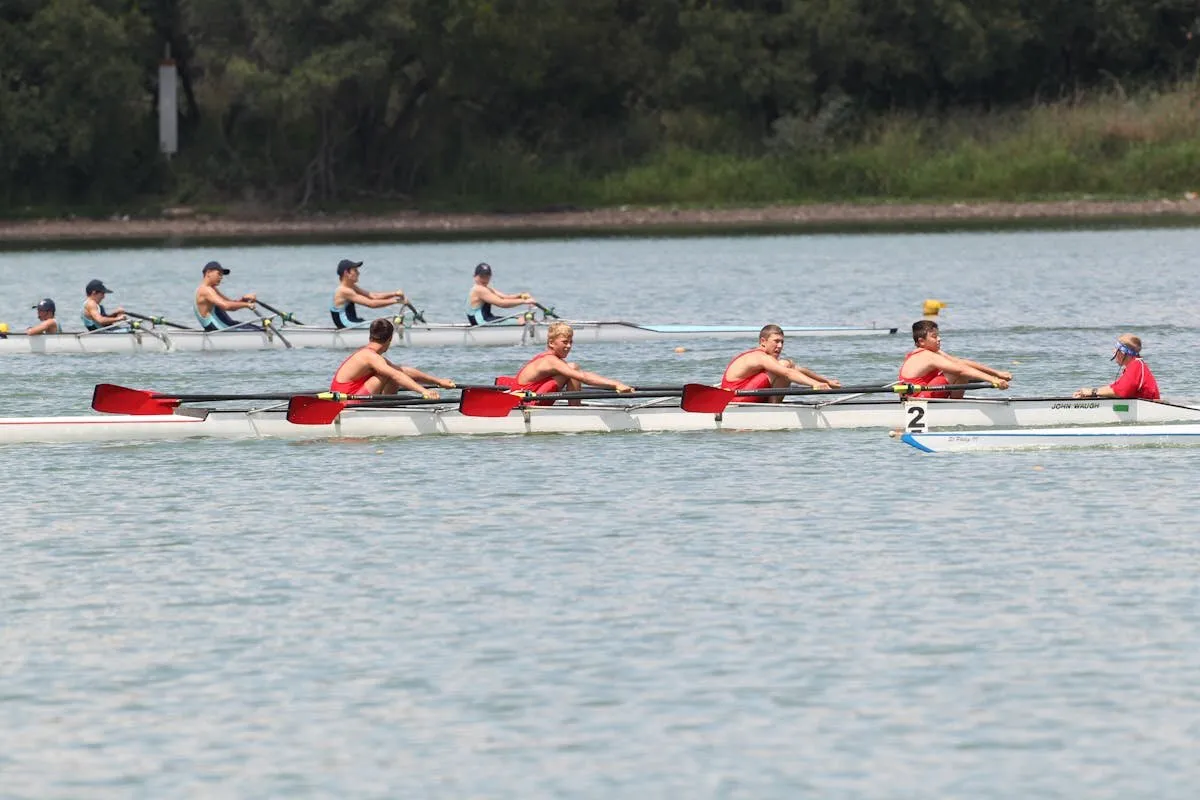
Rowing
Protect hands from oar friction through long training sessions.
Explore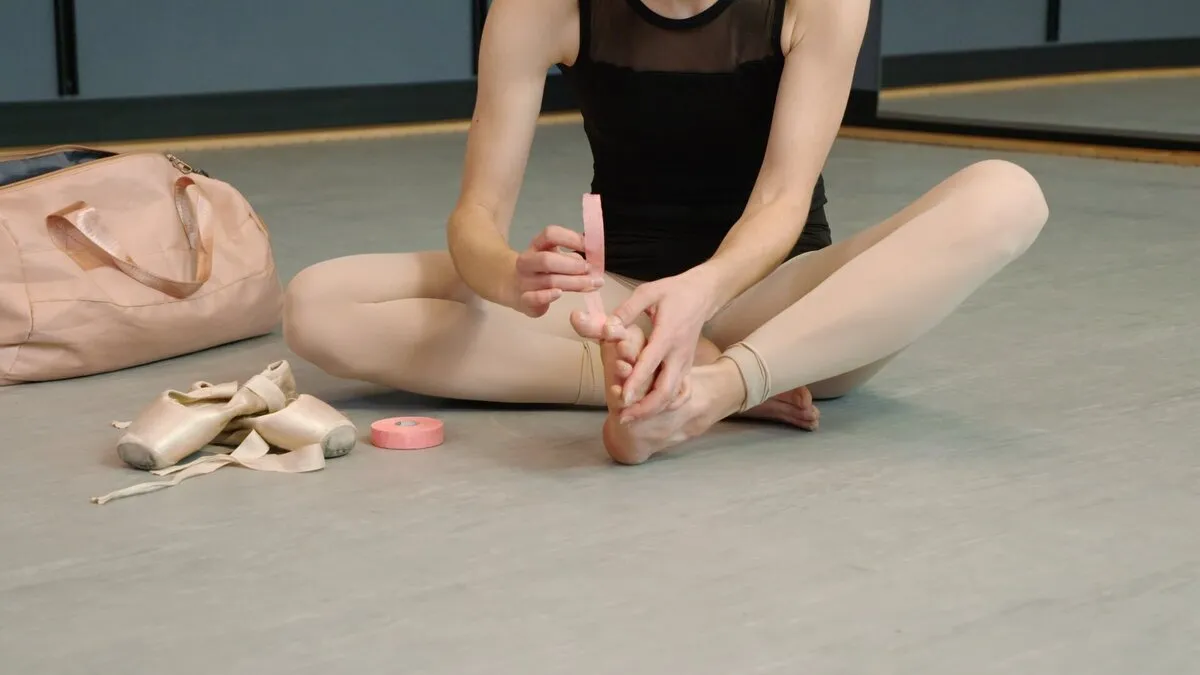
Ballet & Dance
Toe tape that protects through class and removes painlessly

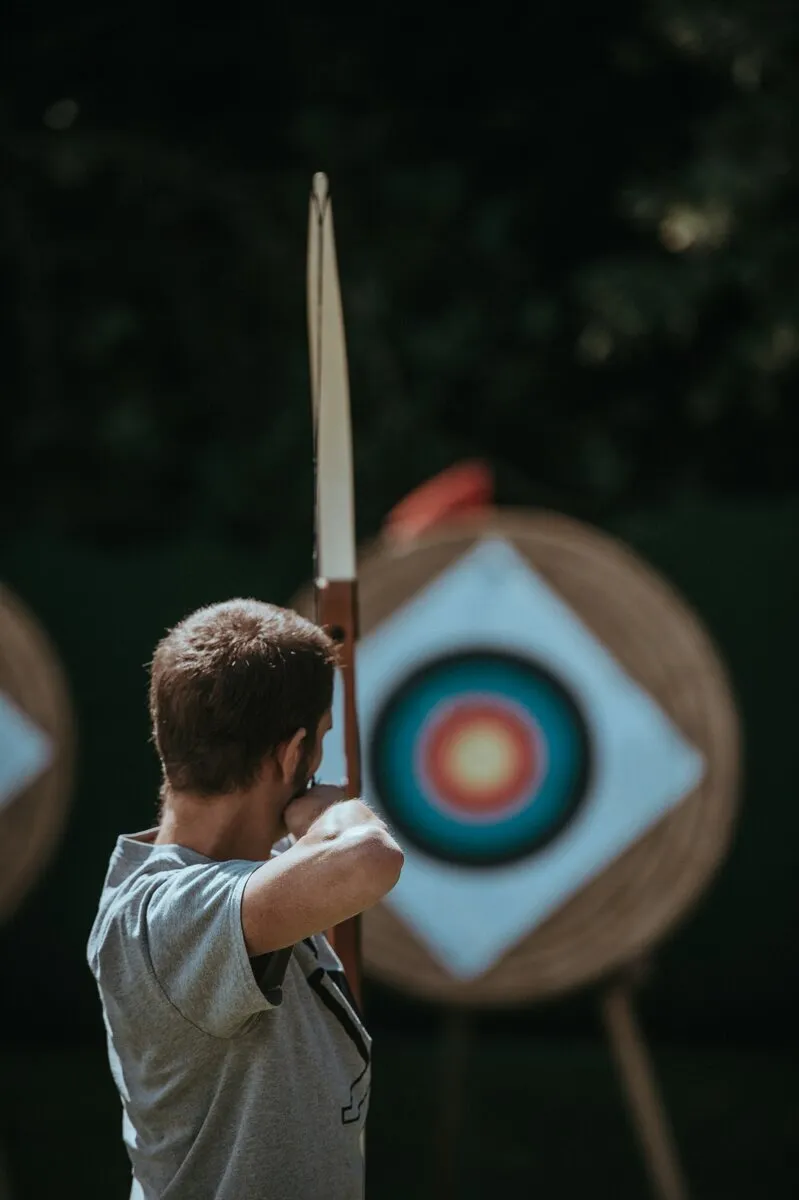
Golf
Prevent blisters on fingers and thumbs during practice and play.
Explore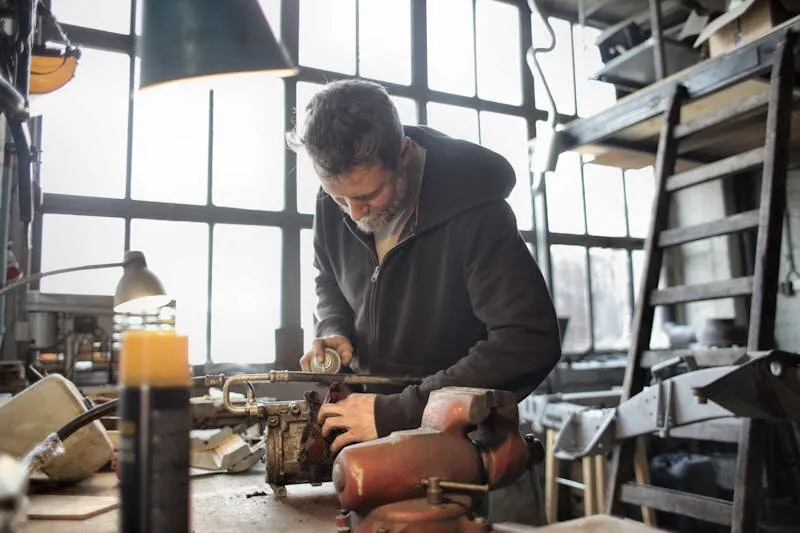
Manufacturing
All-day industrial hand protection that lasts through demanding shifts.
Explore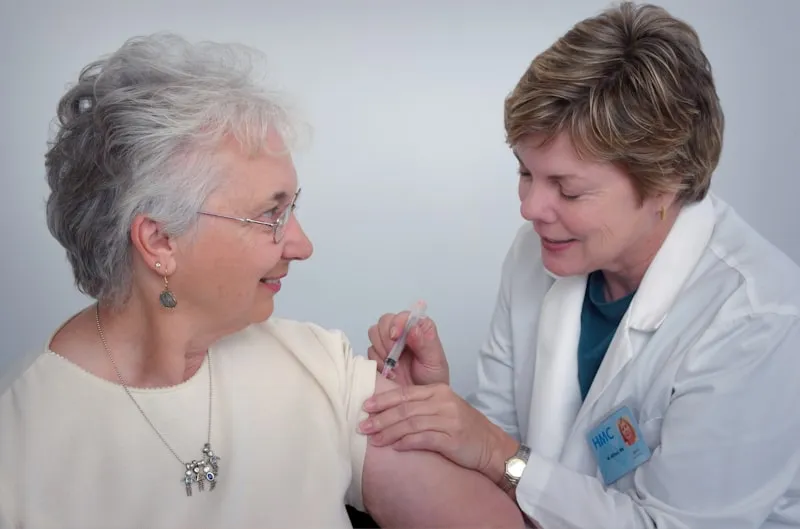
Healthcare
Gentle on fragile patient skin. Replaces finger cots.
Explore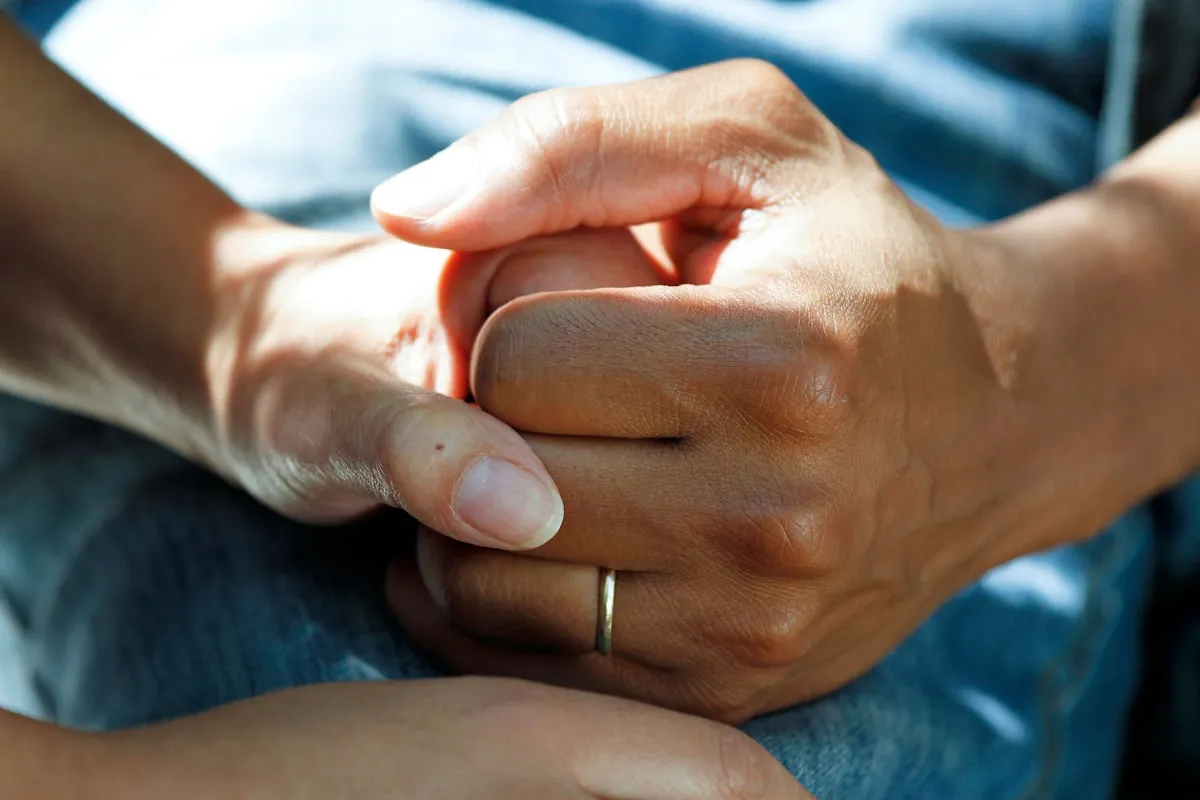
Elder Care
Tape that won't tear fragile elderly skin.
Explore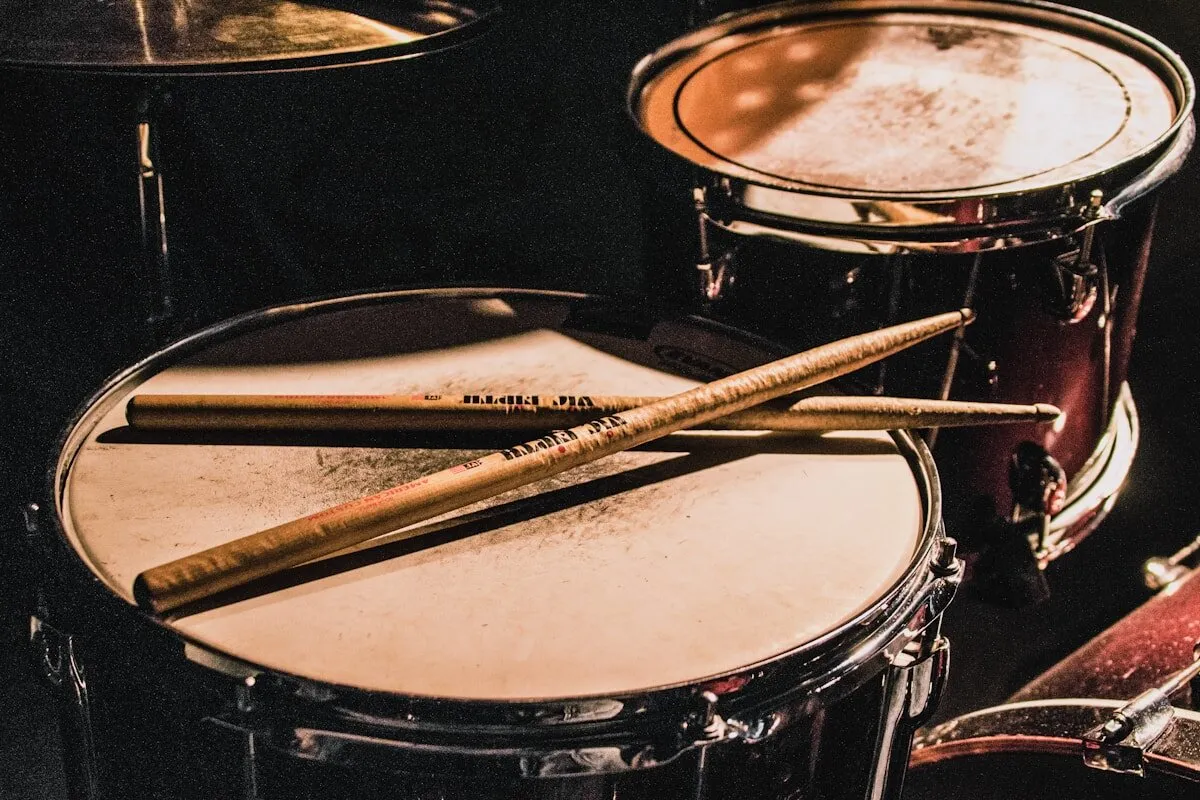
Musicians
Protect fingertips from strings, sticks, and repetitive practice.
Explore
Ballet
Protect toes from the demands of pointe work.
Explore
Fishing
Protect fingers from line cuts and abrasion.
Explore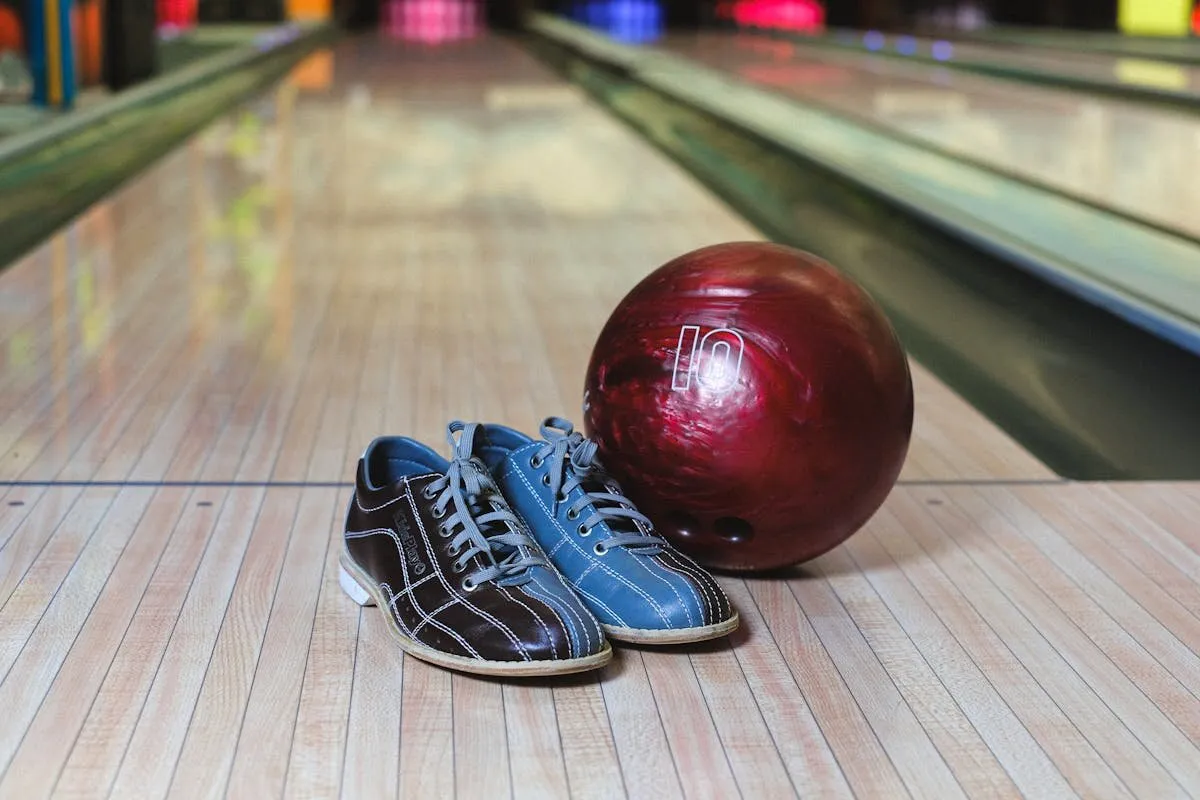
Bowling
Cushion thumbs without affecting release feel.
Explore
Woodworking
Protect hands from splinters and tool blisters.
Explore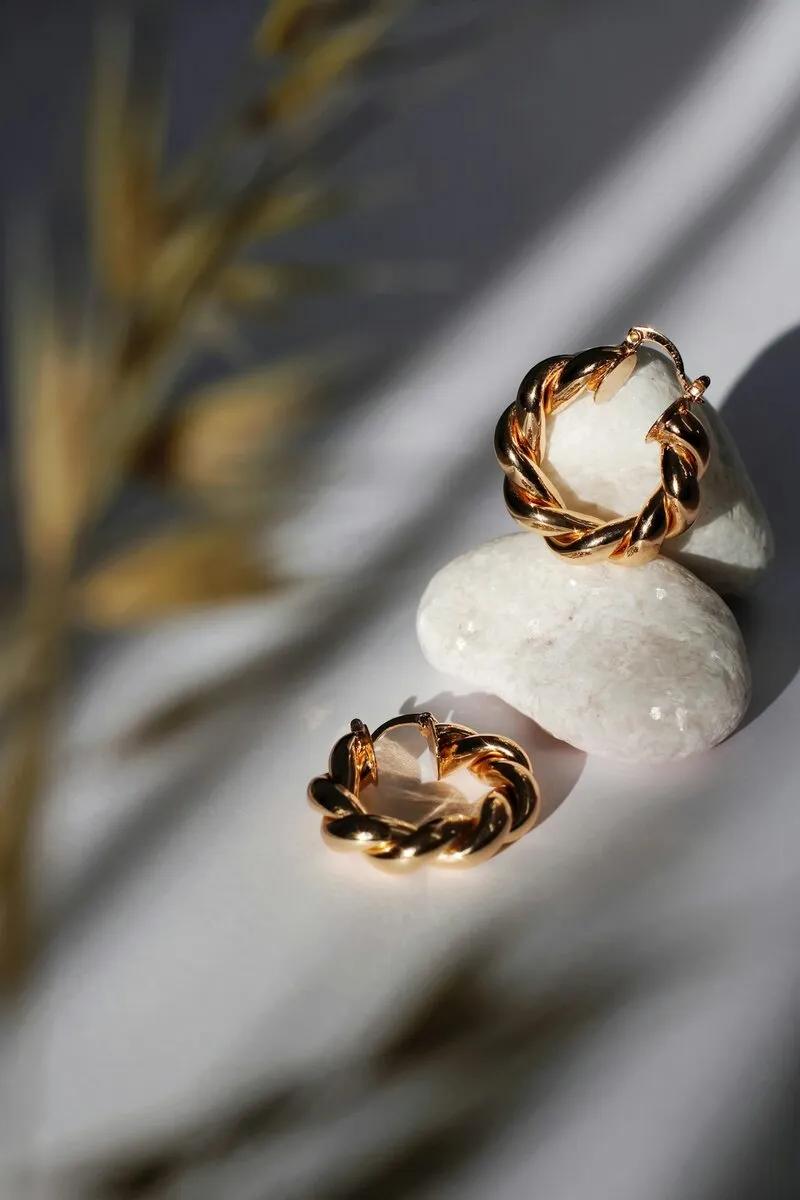
Jewelry
Protect fingers from wire cuts during delicate work.
Explore
Ear Posting
Safe, non-elastic ear posting for Dobermans. Won't restrict circulation.
Explore
Horse Wraps
Non-elastic leg and tail wraps. Zero tourniquet risk.
Explore
Florists
Protect fingers from thorns and wire cuts during arrangements.
Explore
Cosplay & Prop Making
Protect fingers during prop and costume construction. Zero residue.
Explore